

A Practical Guide to Industrial Strainer Installation
In any industrial fluid handling system, the reliability of the entire process often hinges on the performance of its most fundamental components. The industrial strainer, while seemingly simple, is a crucial guardian, providing the first line of defense for expensive downstream equipment like pumps, meters, and control valves.
However, the effectiveness of this vital component is fundamentally tied to one critical event: its installation.
A rushed or improper installation can undermine the very purpose of the strainer, leading to persistent leaks, inefficient filtration, and even catastrophic system damage. The difference between a reliable, long-lasting installation and a constant source of maintenance headaches often comes down to a few key best practices.
This guide provides a practical walkthrough of these essential practices. We’ll cover everything from pre-installation checks to correct orientation and startup procedures, ensuring you get it right the first time and maximize the safety, performance, and reliability of your system.
1. Pre-Installation: The 5-Minute Check That Saves Hours
Before a single bolt is turned, take a few moments to inspect the strainer and the installation site. This simple step can prevent major headaches.
Check the Tag: Verify that the strainer’s model, material, and pressure rating match your system’s specifications.
Inspect for Damage: Check for any damage that may have occurred during shipping, paying close attention to the flange faces and threaded connections.
Confirm Flow Direction: Locate the flow direction arrow cast or stamped onto the strainer body. Installing a strainer backward will render it ineffective and can cause damage.
Ensure Cleanliness: Look inside the strainer. Remove any packaging, debris, or dust from the factory or storage. The flange faces must be clean and free of any old gasket material or grit.
2. Master the Correct Orientation: It's Not a Suggestion, It's a Rule
How a strainer is oriented in the pipeline is critical to its function. The correct orientation depends entirely on the type of strainer.
Y-Type Strainers
The Y-Type strainer is versatile but has specific orientation rules based on the pipeline’s layout.
For Horizontal Pipelines: The strainer leg (the part containing the screen and drain plug) must point downwards. This allows the strainer to act as a sump, collecting debris in the pocket. Installing it sideways or upside down will allow debris to fall back into the main flow when the system is shut down.
For Vertical Pipelines: Y-Type strainers should only be used in vertical lines with downward flow. In this case, the leg should be oriented downwards or angled to the side to facilitate debris collection and easy cleanout. Never install a Y-Type strainer in an upward-flowing vertical line, as debris will simply fall back into the pipe when flow stops.
Basket Strainers (Simplex and Duplex)
Basket strainers are designed for easier maintenance and are less ambiguous to install.
Orientation: These must always be installed in a horizontal pipeline in an upright position, with the cover on top. This orientation is essential for safely and easily removing the heavy, debris-filled basket during cleaning without spilling the system fluid.
Flow Direction: Always follow the flow arrow on the body. The fluid should flow into the basket from the inside out, trapping debris within the basket for simple removal.
3. The Art of the Perfect Seal: How to Prevent Leaks
A weeping flange is more than an annoyance; it’s a safety hazard and a sign of a poor seal.
Use a New Gasket, Every Time: Never reuse an old gasket. Gaskets are designed for single compression. Reusing one is a false economy that almost guarantees a leak.
Prepare the Flange Face: Ensure both the pipe flange and strainer flange faces are perfectly clean, dry, and free from scratches or pitting.
Align Properly: Ensure the pipe and strainer are perfectly aligned. The strainer should not be used to pull pipes into alignment. This creates stress on the strainer body and leads to uneven gasket compression.
Follow the Criss-Cross Tightening Pattern: When tightening the flange bolts, always use a star or criss-cross pattern. This applies even pressure across the gasket, creating a uniform, leak-proof seal. Tighten the bolts in stages (e.g., 30%, 60%, then 100% of the final torque) to ensure the gasket compresses evenly.
4. The Critical Startup Procedure: Don't Skip These Steps
The first moments of operation are the most critical. A careful, methodical startup ensures system integrity and strainer longevity.
Step 1: Venting (Removing Trapped Air)
Before introducing full flow, you must vent the air trapped in the strainer body and upstream piping.
Why? Trapped air can cause an “airlock” that restricts flow, or it can be forced downstream at high velocity, causing pressure surges (water hammer) and potentially damaging the strainer screen or other equipment.
How? Most basket strainers have a vent port on the cover. Slowly open the upstream isolation valve to allow the strainer to fill with fluid. Loosen the vent plug until a steady stream of liquid (not air) emerges, then retighten it.
Step 2: Slow and Steady Pressurization
With the air vented, it’s time to pressurize the system.
Why? Opening the main valve suddenly creates a powerful surge that can slam into the strainer screen, causing deformation or catastrophic failure. This is especially true for fine mesh screens.
How? Slowly crack open the upstream valve, allowing the pressure to equalize across the strainer gradually. Once the system is fully pressurized, you can slowly open the downstream valve.
Step 3: The Leak Check
Once the system is at full operating pressure and flow, perform a final, thorough inspection for any leaks around the flanges, cover, and drain plug.
Step 4: Establish Your Baseline
With your new, clean strainer installed and running, record the pressure differential (ΔP) between the inlet and outlet gauges. This is your “clean baseline” pressure drop. Write it on a tag attached to the strainer or log it in your maintenance records. This baseline is the gold standard for knowing when it’s time to clean the strainer in the future.
Conclusion
Ultimately, proper industrial strainer installation is a foundational step in building a reliable and efficient process line. By focusing on correct orientation, meticulous sealing, and a safe, methodical startup, you ensure your strainer performs flawlessly—protecting your investment for years to come.
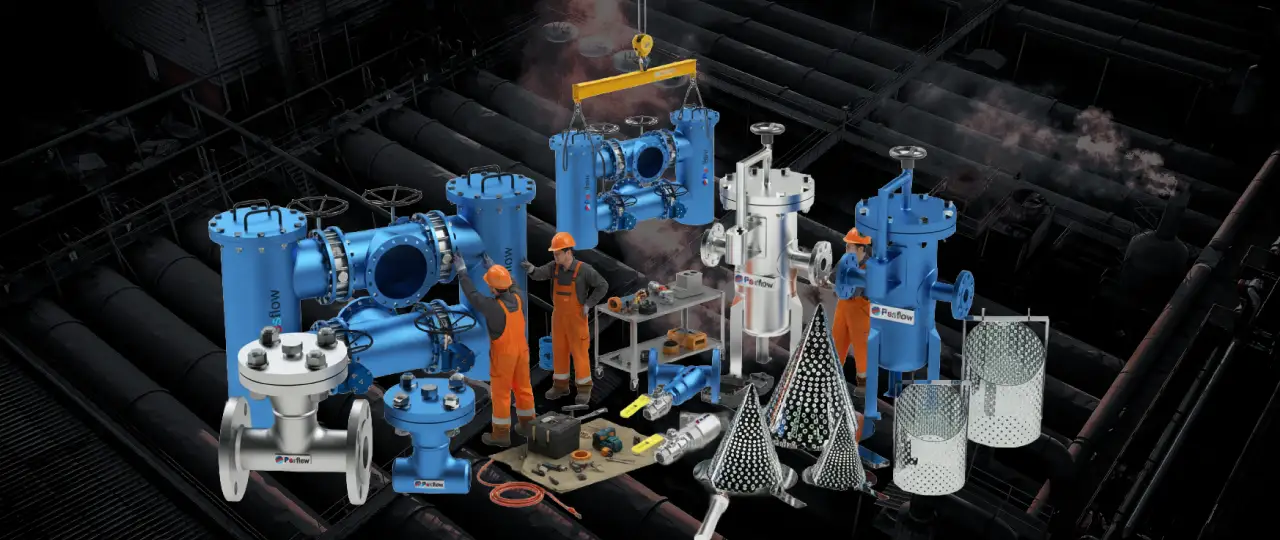
At Perfect Engineering Services, we go beyond supplying strainers—we provide solutions. Recognized as the Best Strainer Exporter in UAE, we are trusted by industries worldwide for reliable, high-performance products. Among the leading Strainer Suppliers in UAE, our reputation as the Best strainer supplier in UAE is built on quality, precision, and customer-first service. We also export our strainer range to Africa and the GCC—particularly the UAE (including Sharjah), Kuwait, and Qatar.
Have questions about which strainer is right for your application or need guidance on a complex installation?
Contact us today for all your industrial filtration needs.


